Using stencils when inking your blocks is a quick trick that can save time and money and reduce frustration. In the following example one block has two carved areas that need to be inked with different colors. The block was carved this way in an attempt to be efficient and thrifty – one block of wood, two colors.
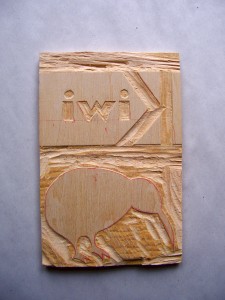
Carved block for two colors
Step One:
There are two options for step one.
Option 1: Make a rubbing of the block using carbon paper, card stock (which will be the stencil) and a bone folder. Make the same number of rubbings as colors that need to be printed. In other words, if you are making a two color print, make one stencil for one color and another stencil for the second color.
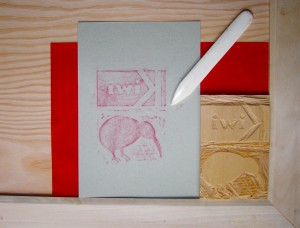
Rubbing done with red carbon paper
Option 2: Print the block onto card stock (which will be the stencil) with transparent base. Make the same number of transparent prints as colors that need to be printed.
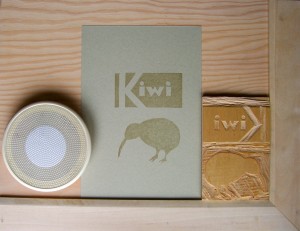
Print on card stock with transparent base
Step Two: From the print or rubbing cut out the areas of the card stock stencils that are to be printed. The opening should be slightly larger than the actual carved area of the block.
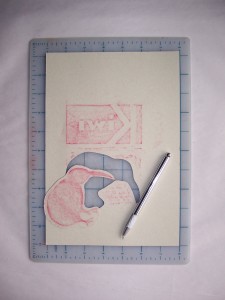
Stencil cut from red carbon paper rubbing
Step Three: Lay the card stock stencil for your first color onto the block, ink it, remove the stencil and print it.
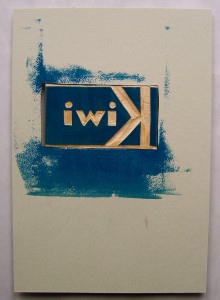
Block inked for 1st color using stencil
Step Four: Lay the card stock stencil for your second color onto the block, ink it, remove the stencil, place a barrier over your first inked color then print your second color. Repeat until you’ve inked and printed all your colors.
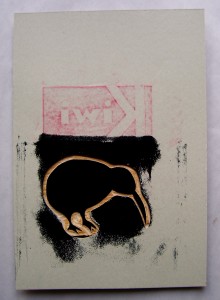
Block inked for 2nd color using stencil
Once your registration and carving adjustments are made repeat step two and three until you have the number of prints you need for your edition.
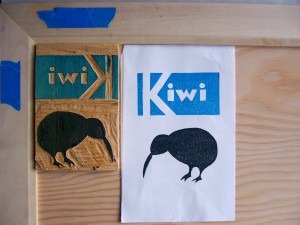
Final test print
